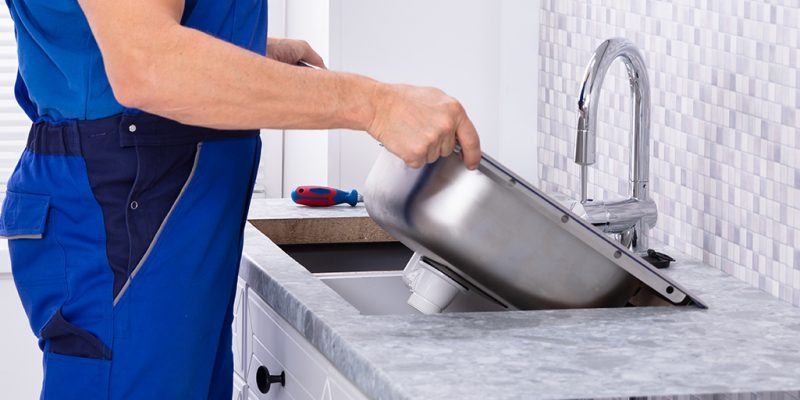
Kitchen sink replacement is a straightforward project that you can probably tackle yourself. After turning off the water supply, remove the sink by taking apart the pipes, cutting the caulk, and undoing the sink’s clamps.
Simple Steps to Replace a Kitchen Sink Without Stress:
You have chosen the perfect kitchen island, a shiny, modern kitchen stove, and all the other necessities needed for a kitchen renovation, even a brand new Kitchen sink replacement.
Now that you have all the goods, it’s time to put them in place. If you need to know a thing or two about sink installation, we have got you covered.
Guide with all You Need to Know on How to Kitchen Sink Replacement:
- Assess Your Existing Sink
- Prepare For the Sink Removal
- Remove the Old Sink
- Cut a Hole For the New Sink
- Install the New Sink
1) Assess Your Existing Sink:
First, you will want to measure the sink currently in place. If the new sink you’ve chosen has different dimensions and drain locations than the existing sink, you may need to have work done on the countertop opening and Kitchen sink replacement.
Also, determine what type of sink you have in place already. The two basic kitchen sink designs are :
· under mounted
· drop-ins
Under mounted: Under-mounted kitchen sinks are attached to the countertop from underneath.
Drop-ins: drop-in sinks are lowered into the sink opening on a countertop. There are slight differences in how you remove each type of sink, so you will want to know which kind of sink you are working with ahead of time.
2) Prepare For the Sink Removal
Since most of your work will be done in the cabinet under your sink, you will want to clear out this area before getting to work.
Find yourself some protective eyewear and gloves to prepare for Kitchen sink replacement. With many pipes and other hazards to your eyes and hands, wearing personal protective equipment is an important step.
Next, unplug your garbage disposal if you have one. Working with electricity and water simultaneously is very dangerous, so open your disposal as soon as possible before you forget.
As an added precaution, you may also want to turn off the circuit that the disposal plugs into. During this time, also be sure to turn off the water supply to the sink. There should be two separate valves below the sink :
· one for hot water
· one for cold water
Turn both of the handles to shut them off.
· After you’ve turned the valves off, double-check by trying to turn the water on in the sink. The water flow should be gone, but if a few drips occur at first, that’s fine.
· This step will also relieve water pressure in the lines.
After turning off the water supply, you’ll want to disconnect the water supply along with the garbage disposal. To disconnect the water supply, use an adjustable wrench. While holding the line in place with one hand, use the twist in the other hand to loosen the nut.
Next, disconnect the drain pipe, which is connected at the bottom of your sink strainer. It should be held in place by a slip nut or a coupling nut, so you’ll need to loosen the nut and the nut at the far side of the P-trap. Then, disconnect and remove the garbage disposal too.
3) Remove the Old Sink
Now comes the fun part—removing the sink itself. First, carefully cut through the caulking around the Kitchen sink replacement using a utility knife.
· Then, detach the sink from the countertop. This step is trickier if you have an under-mounted sink and need another set of hands for assistance.
· Someone should hold the sink up while the other detaches it.
· Don’t try to do this step alone, as the sink could fall onto you.
Finally, reach under the sink and push up or side to side to loosen it.
Now you should be able to pull the sink out of the countertop.
· Before the new Kitchen sink replacement installation, clean up surfaces and spills.
· Also, mop up any water that has likely come out during the sink removal.
4) Cut a Hole For the New Sink
After successfully removing your old sink, cut a recessed hole for the Kitchen sink replacement for the new sink. Once you’ve cut the hole, you can check to ensure the Kitchen sink replacement fits well in the spot. If it does, use a preservative primer to seal the cut edges of the countertop.
5) Install the New Sink
For the final step to replace a Kitchen sink replacement, you will need to assemble and insert the new sink. To do this, place the faucet into the hole in the sink and secure it under the sink.
Also, install the hoses. Next, use the instructions provided with your new sink to install the waste assembly and overflow section.
Conclusion
Kitchen sink replacement is a straightforward task that you can probably tackle yourself. If any plumbing issues are not done by yourself, contact the plumbing company. Professional plumbing team will help you to solve all your problems related to the kitchen sink and plumbing.
Also Read: The most common indicators of a failed heating system


Comments